How to install Magento 2.0?

Magento 2, one of the most awaited technologies has finally been released. There is a fragrance of excitement in the air and all of us are dying to know about the new features. The bucket of Magento 2 is overflowing with amazing new features like the jQuery library and better security. Some of the best features include compatibility, performance enhancement, component-oriented architecture, directories structure, automated testing, and JQuery JavaScript framework, to name a few.
To know about the Magento 2.0 architecture and how it is different from Magento 1.0, click here‘
As you know now, new technologies have been used in Magento 2.0 like HTML 5, CSS 3, RequireJS, Apache 2.2 or later, PHP 5.5.x with PHP 5.4.11 and My SQL 5.6. In addition to these basic, other important technologies used are PSR compliance, Magento UI library, CSS preprocessor, full-page caching and Magento performance toolkit. The customization process, scalability, and performance are improved. Another way is, one can also go for hiring Magento 2 developer for Magento Ecommerce Development. There is easier frontend magento development and the upgrading costs and efforts have been reduced. Apart from that, there is a new level of quality, testing resources, and documentation. Also, Magento 2 Migration has got better engagement with the community.
Of course, now that it has been released and it is ready to use, you must be super excited to start using it. As compared to website development e commerce You need not worry if you do not know how to install Magento 2.0. The installation proves is easy to understand; so, let us have a look at the step-by-step systematic installation process…
Install XAMPP and verify your prerequisites:
At first, you must install the XAMPP. Once you install it, as mentioned above, Apache 2.2 or later, PHP 5.5.x with PHP 5.4.11 and My SQL 5.6 are the minimum requirements for installing to Magento 2. So, you must check if your server meets the requirements.
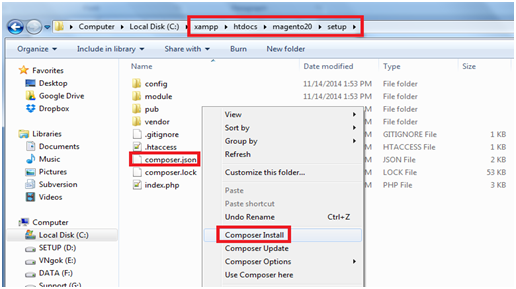
Install composer :
Before installing Magento 2.0, you should install Composer, a tool that lets you manage the extensions and dependencies of Magento 2.0. Other reasons for installing Composer first are its amazing features and benefits. It is advisable to use a composer because the third party components can be easily integrated into the code base. Another reason is that it has got the component-based architecture with robust dependency management. In addition to that, it reduces the extension of conflict and compatibility issues. Apart from that, it supports PHP framework interoperability standards. So, download and run the latest version of Composer.
Steps to install Composer:
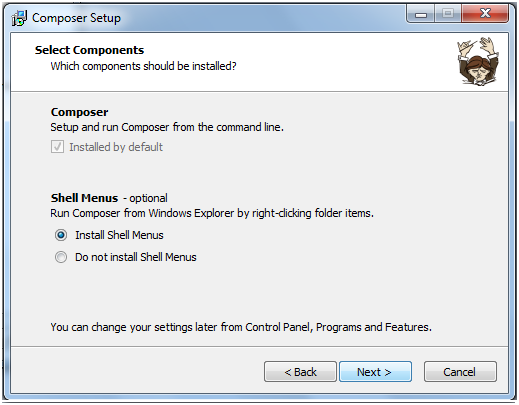
Download and run the composer-setup.exe file. Click on Next button to continue:

Click on the Next button to continue
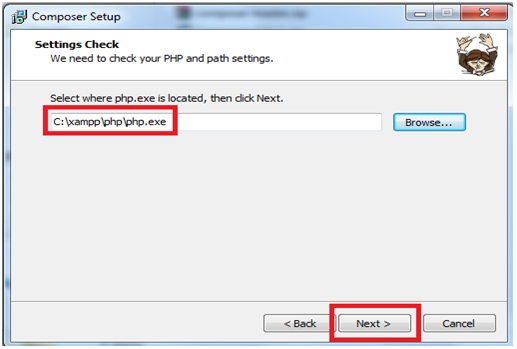
Choose the path from the location of the php.exe file with xampp is C:\xampp\php\php.exe and then click on the Next button
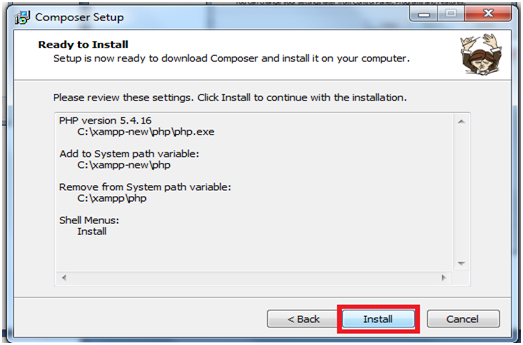
Click on install
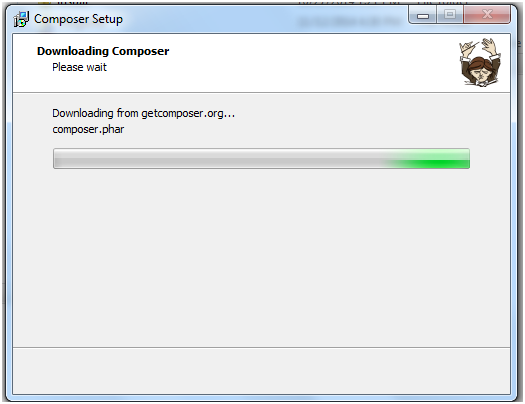
Wait while this window is displayed
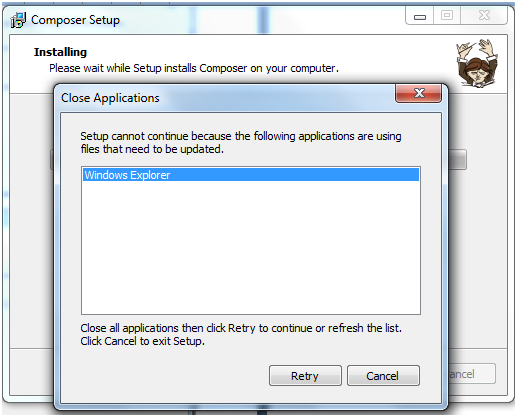
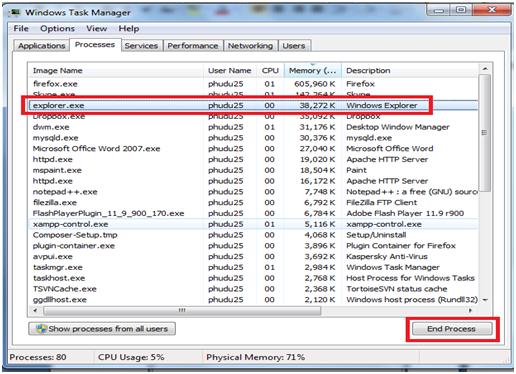
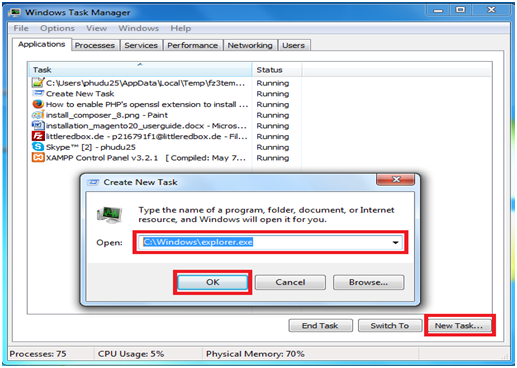
If this window gets displayed, there is an error! In such a case, you can use Task Manager to close the Window Explorer. Click on Retry button
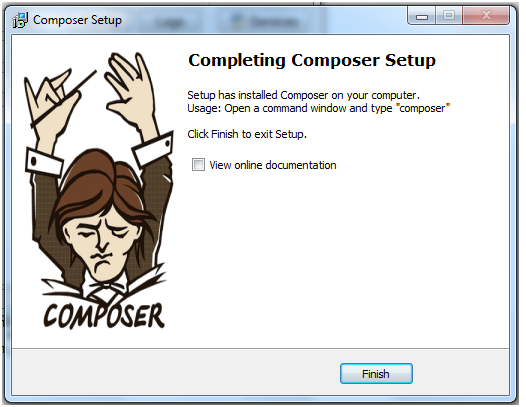
Click on the finish button
Run it again
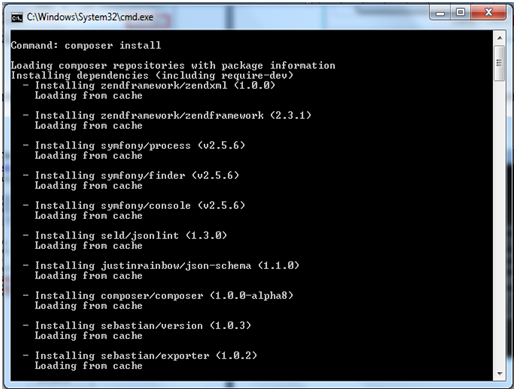
The CMD screen gets displayed after which you are supposed to wait for a while

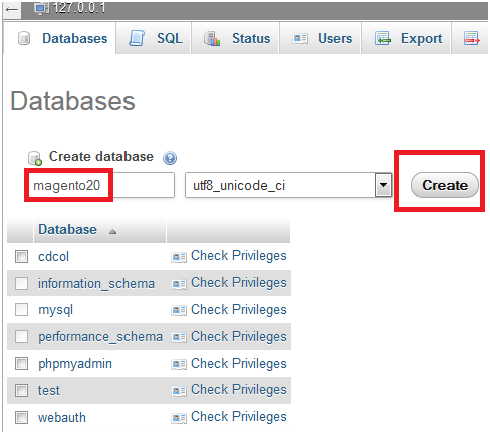
In order to create database, log in to mysql
In order to start installing Magento 2.0, run localhost/magento20/ link on the browser
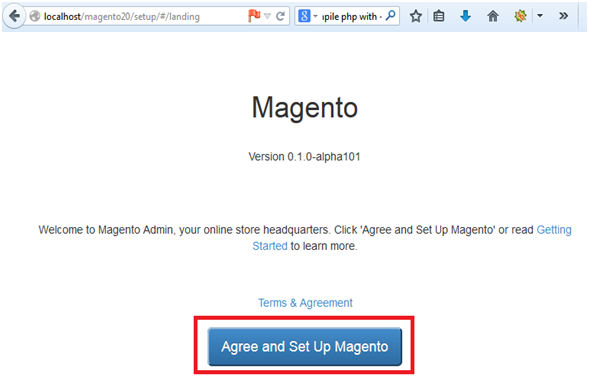
Once it starts getting installed, follow this step by step process in the same sequence:
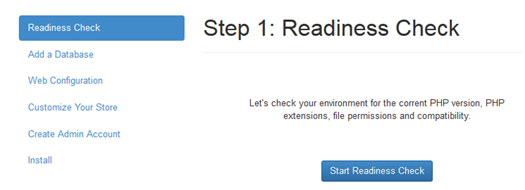
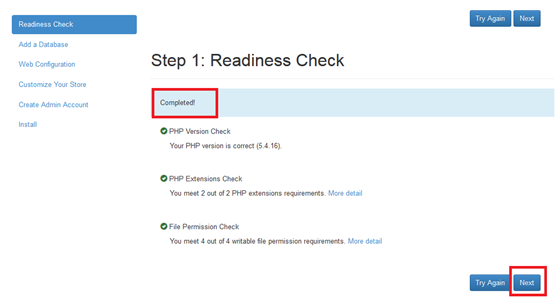
Step 1: Check server
Click on next button once the Readiness Check step is completed
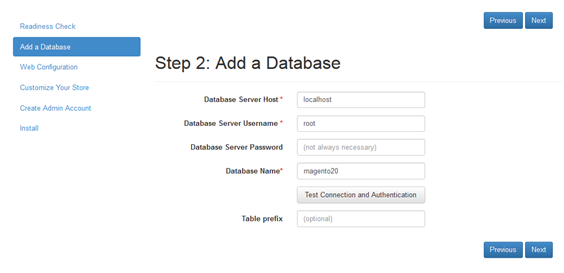
Fill in all the information that you are asked for regarding the database and server and then click on next button
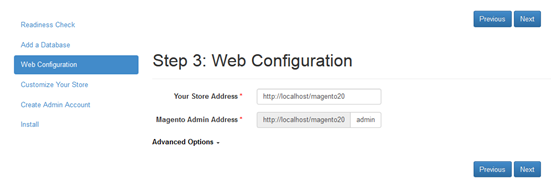
Provide the link of your website and continue
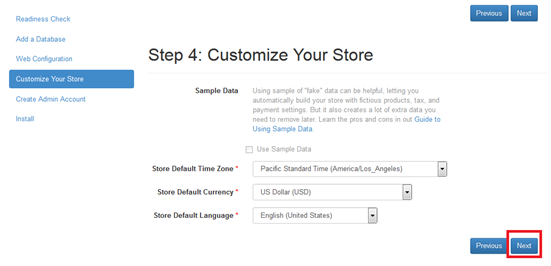
You can customize your store by editing your time zone, language and currency
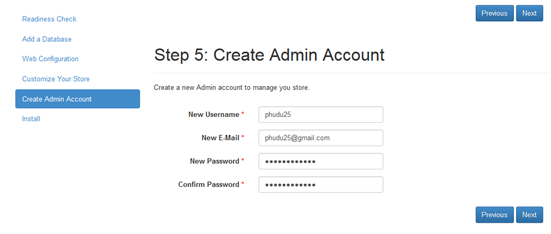
Now, you must create and admin account to fill up all the information
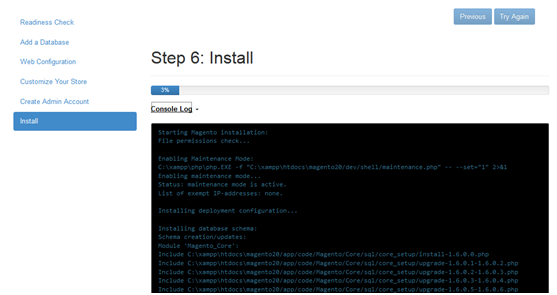
Clicking on install will display the following screen:

You will have to wait for some time. Till then, you might see a screen like this:
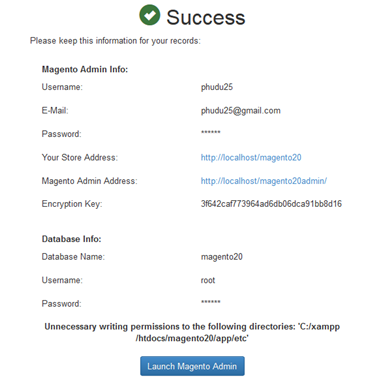
Once everything is done., you will see the following success screen:
Following all the above-mentioned steps correctly, you will end up successfully installing the Magento 2 or hire Magento 2 developer to make the process quick and smooth.
Good luck with that!
Image courtesy: Mage Store
Related Articles
-
 Adobe Commerce Security Best Practices: Safeguarding Your Online Store
In the fast-paced digital era, where online shopping has become a norm, the security of e-commerce platforms is of paramount importance. According to recent studies, a staggering 88% of skilled
-
 Simple and Better Ways to Manage Your Site Is with WordPress
Everything around us is digitizing and the technology is developing way faster than any one of us could’ve possibly thought. The best thing about these trends is that they save
-
5 Tips From an Ecommerce Leader on Building Your Business
E-commerce has become a necessity, not just a business sideline. Consumers’ demand to find everything online has given e-commerce businesses the upper hand. In fact, in daily life, it’s hard